Search
Create confirmations
After a booking has received the status Offer, Confirmed or Online Booking, you can create a confirmation for it.
Go to “Create confirmation” window
There are three ways to create a confirmation:
… from the booking window
Open the booking window of the booking that you want to create a confirmation for. Within the booking window, press the button Create Confirmation.
… from the reservation schedule
Select the booking that you want to create a confirmation for in the reservation schedule and call up the context menu (right-click). Within the context menu, select the option Create Confirmation.
… via the menu bar
Select the booking that you want to create a confirmation for in the reservation schedule and then go to Bookings > Create Confirmation.
Confirmation window and settings
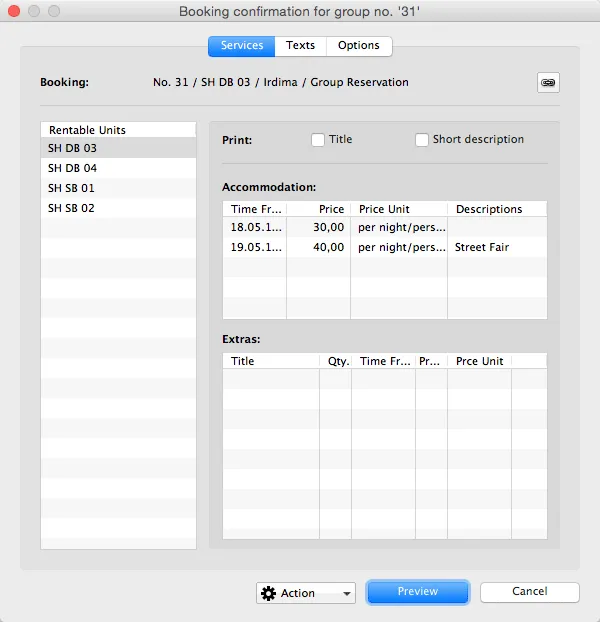
In the area Services you can review all the information about accommodation and extra items of a booking. In the case of group bookings, you’ll also see a list of all bookings belonging to the group.
You can decide if you want to show each unit’s title and/or short description on the confirmation.
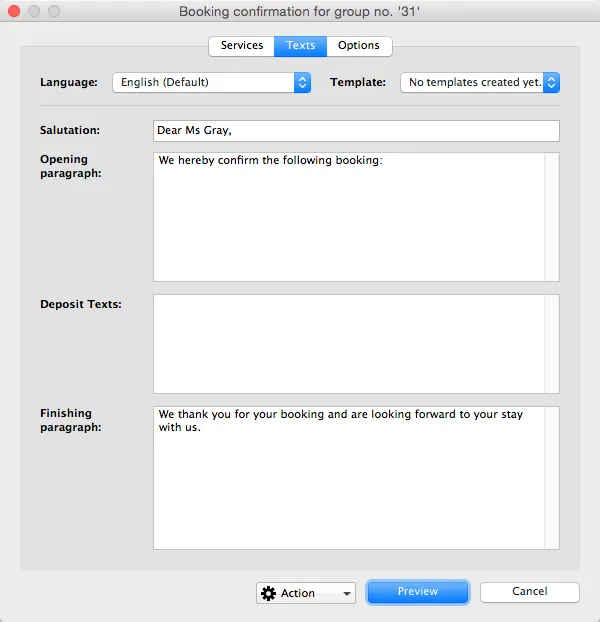
In the area Texts you can edit the texts of the offer as well as set some print options:
In the drop down menu in the upper left corner you can select a language for this confirmation and the drop down menu in the upper right corner you can select one of the templates you created earlier.
You can also edit all texts individually for this confirmation in the text fields.
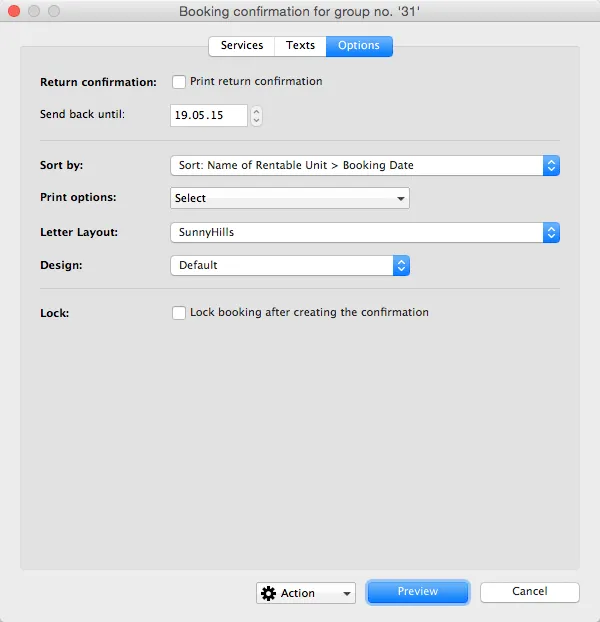
In the Options you have the option to print out a return confirmation right away (that’s a form that your guest can fill out, sign and send back to confirm the booking).
The menu Sort by lets you decide how to sort multiple units of a group booking on the confirmation.
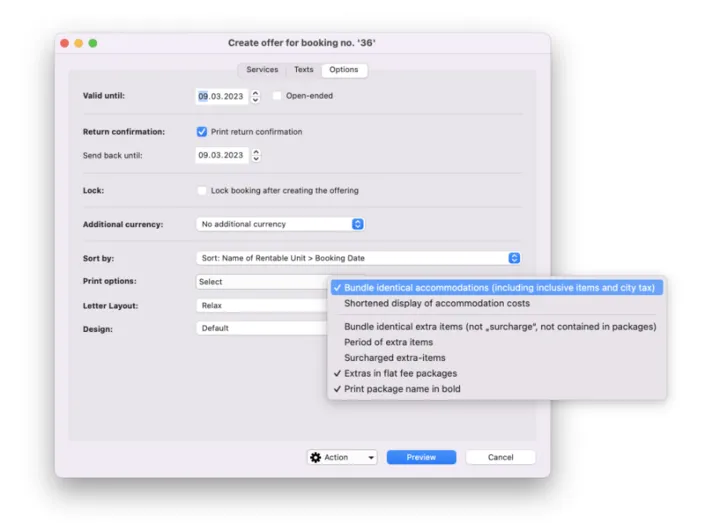
The menu Print options also allows for some options regarding what is printed and how.
Here you can for example choose if identical accommodation items such as two double rooms should be bundled to a single item on the invoice as shown in the example below:
And you can select the letter layout as well as one of the designs.
If you want to make sure the booking can’t be moved, you can have it locked after the confirmation was created.
Print, save and send confirmations
By pressing the button Preview you can preview and check your confirmation before you print it.
You can print the confirmation by pressing the button Print.
Within the menu in the lower left area you can also Save the confirmation without printing it, save it as a PDF file on your computer, send the confirmation as an Email or send it as an Email with PDF attachment.
Important:
If you want to send confirmations via email (either directly or as a PDF-attachment), you must first enter an email address in the guest’s contact information in the Guest Management.
The final confirmation won’t be created in the system until you’ve printed, saved or emailed it. If you would rather not create the confirmation, simply close the confirmation window.
Send confirmation as an email
If you want to send the confirmation via email, you can press the Email button. This will open a preview window that allows you to check and alter the email and its recipient. You can also add more recipients in the field that says CC.
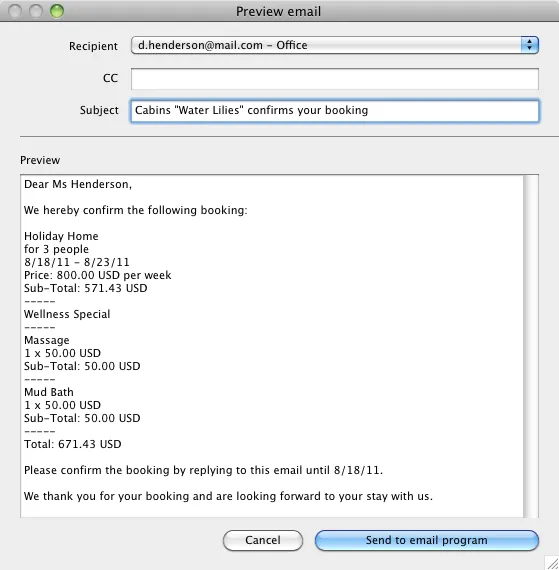
When you’re done, press “Send to email program” or “Send email”.
Send confirmation as an email with PDF attachment
If you want to send the confirmation as an Email with PDF attachment, the following window will open:
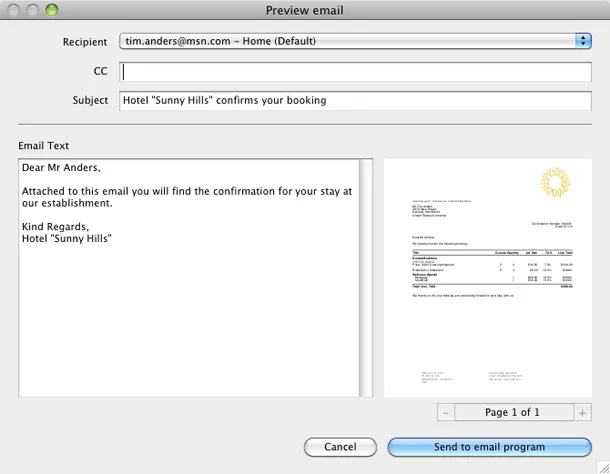
Now you can edit or add recipients, edit the email content and preview the PDF file. Once you’re finished, press “Send to email program” or “Send email.
View (and print/send) confirmations again
You can also view and print any confirmation you have previously saved by going to Administration > Archives > Confirmations. More information on that can be found under Managing confirmations.
You can also find all confirmations linked to a booking in its booking window under Correspondence.
Furthermore, you can find/view/print all confirmations linked to a guest in the history of the guest under Guest Management.